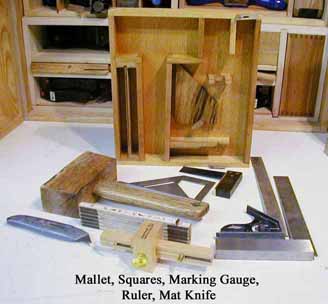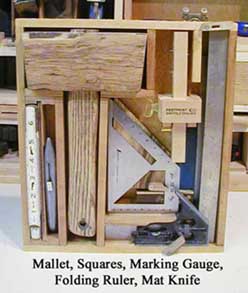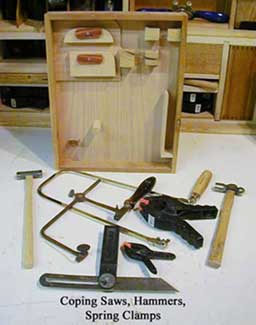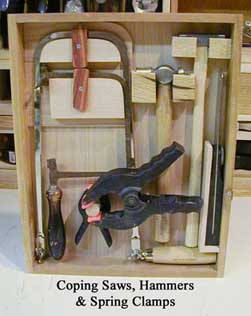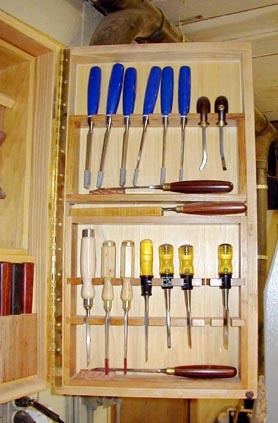
Right Cabinet - Door Details
This was a really fun project. I used a modular approach to make the "fill ins" within the cabinet and doors. This modular approach had several advantages. Any screw ups were limited to just that module and not the entire cabinet. The modules can be rearranged if necessary - handy when you're not sure where you're going or how you're going to get there. Several of the modules can easily be removed from the cabinet or doors and taken to the bench when their tools are being used. All those "scraps" you just couldn't throw away can be turned into modules. The JoinTech got a real workout making finger joints, through dovetails and half blind dovetails - a great way to learn to use the JoinTech. And you get to try various finishes on different woods of the different modules.
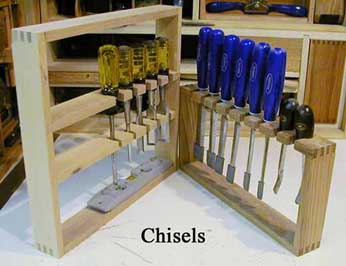
The Chisel Holders have finger joints on the frame and sliding dovetails for "in frame shelves which allow for
easy replacement it necessary.
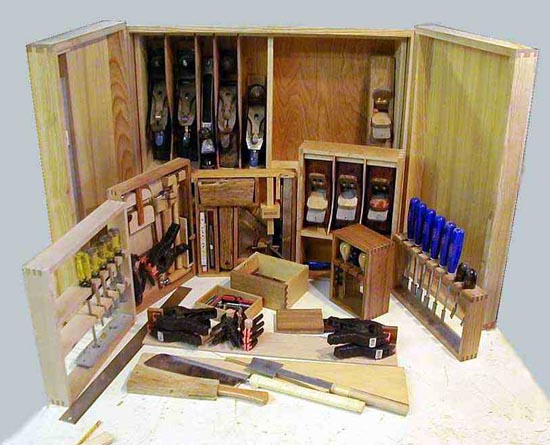
Right Cabinet - Most of the Modules Out
The only disadvantage is stopping - I kept seeing spaces that could take another module or a small drawer or two. The weird drawer shown below fits in front of the Stanley #6 in the lower middle left of the cabinet. This curved multi-height drawer back fits right around the #6's rear handle/iron and its front knob. When I finished the 3 by 3 by 4 inch drawer below I called it quits. Still had another whole cabinet to fill.
BTW - there's well over a hundred items in this cabinet and doors.
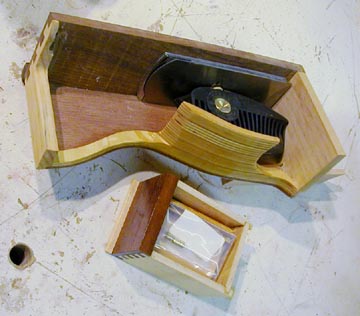
Weird Drawer - Smallest Drawer
To see another slick feature click here
If you'd like to know more about the evolution of the design of the wall hanging tool cabinets and get into some of the details click here. and select Projects
